Assigning a Scanner Config File to a Customer Vehicle
|
1.
|
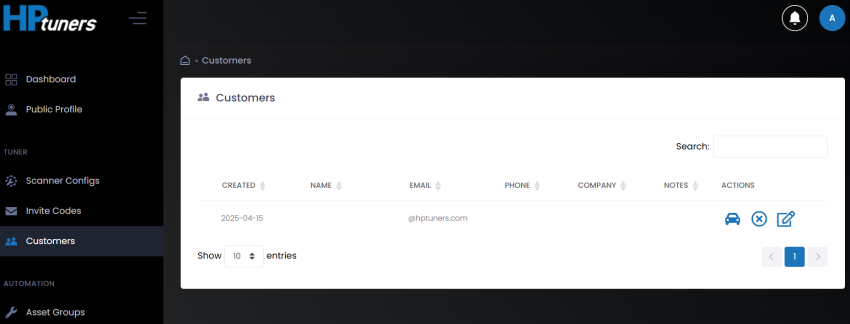
Select Customers from sidebar menu. The Customers page appears. |
|
2.
|
In the Actions column, click on the  icon next to the customer whose files you wish to retrieve. The customer’s vehicle page appears. icon next to the customer whose files you wish to retrieve. The customer’s vehicle page appears. |
HIDDEN ACTIONS: If your web browser window is not very wide, you may not see the icons in the Actions column. Instead, there will be a blue plus sign on the left end of the table. Select this icon to display the remaining options.
|
3.
|
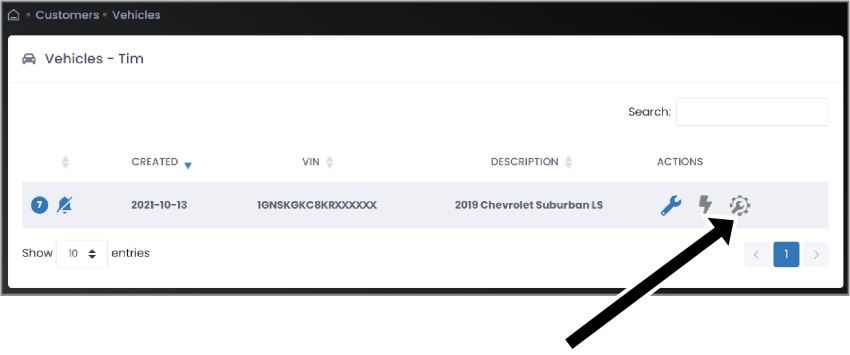
In the Actions column, click the scanner config icon for the vehicle to which you want to assign a scanner configuration. The Files page appears. |
|
4.
|
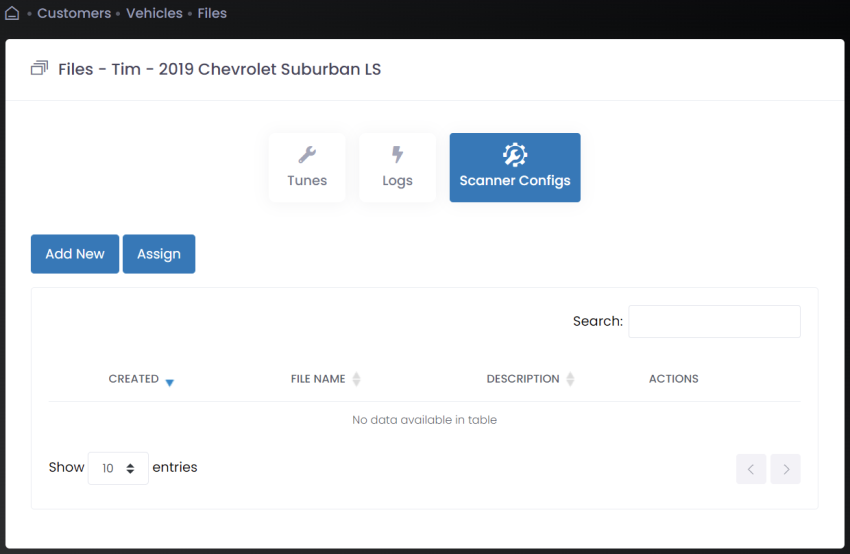
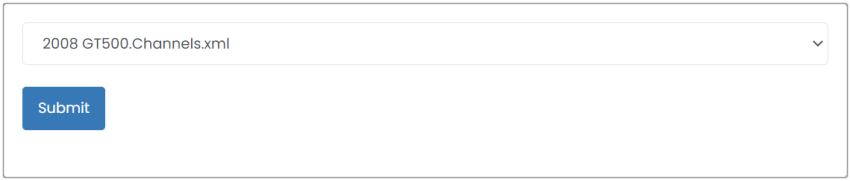
Click Assign. A dropdown menu that lists uploaded scanner config files appears below the button. |
|
5.
|
Select the file you want to assign to the customer vehicle. |

